Dying fabrics.
First things First!
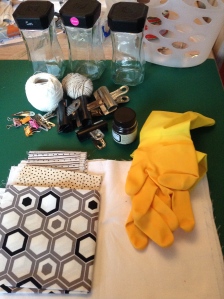
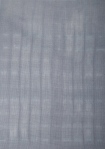
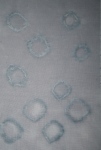
It has taken a while to gather all the bits n bobs for this chapter but I think I am now ready. I purchased a very good quality pair of pure cotton sheets for £5 which was a real bargain. I have cut some A4 size samples and a few smaller ones for practising techniques on. I don’t have much material which has a pattern except for the few pieces shown, however I think the hexagon one is exciting!
I am using Procion MX Dye (150 Jet Black) and mixing my own fixative using soda crystals and salt solution.
When I am mixing the solutions I will be wearing rubber gloves, and an apron. I thought about a face mask but the quantities are so small I don’t think this should be an issue. I will also be preparing these solutions in a well ventilated area.
Would you believe I have never dyed anything before! Not even tie-dyed a t-shirt…even my husband has done this! I have painted on fabric though so I am not completely inexperienced for this chapter, just a little bamboozled!
I have been looking for piping to use. In both books I have on dying and shibori a 10cm diameter one was used. However I could not get one that size and I suspect it would be too big for my samples anyway. Instead I bought a 4 cm tube which was easy to cut down to size , lighter and cost less!
A while ago my old plastic potting table got caught up in a stormy wind and I found it broken into pieces the following day. Naturally I threw it out but now I am wishing I had kept the legs! They would have made great pipes!
At the moment I am preparing samples for the various kinds of Shibori.
Manipulating fabric in different ways before dying is popular in many parts of the world but especially Japan, Africa and India. The universal term for this is Shibori. The word Shiboru means to wring, squeeze and press. I hope am going to do some of this with cloth, not my hands!
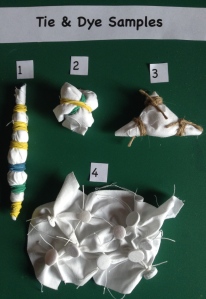
Preparing some experimental samples
I used a quarter of an A4 cotton sheet for all the above samples. I made Number 1 using straight stitching across the width of the sample. I used single strands of cotton thread for this. When pulled together an accordion effect happened.
Sample 2 above shows what zigzags look like when the threads are pulled together. For this and the next two samples I used a thicker cotton which was labelled ‘Mercer crochet’. I bought this as part of a job lot years ago and have never used it. It seems a good thickness for this material and technique although none of the threads were coated in wax. I wonder what difference this will make? I need to get some thread waxing done.
Sample 2

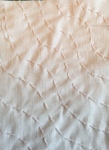
This is what sample 2 looked like before I pulled all the threads together.
For sample 3 I marked wavy lines on the material and sewed over these with straight stitches. Sample 3 below shows what this looked like before I pulled all the threads together.
Sample 3
Sample 1 and 4 do not have ‘before’ pictures. Sample 4 started off as concentric circles. The larger circles only covered parts of the material. Drawing the threads together created four separate points.
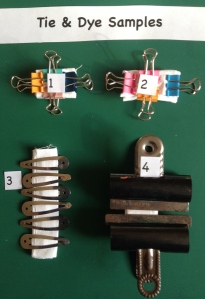
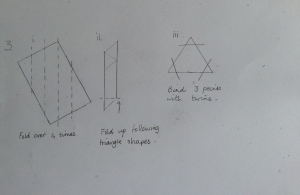
Next I moved on to folding and clamping small samples in different ways. The diagrams bellow explains the folds I made .
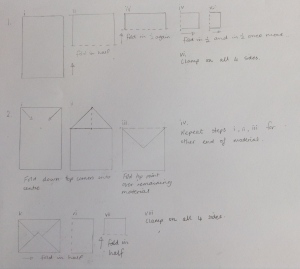
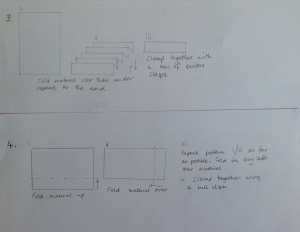
1. I found the centre of 1. and bound it from this point all the way down to the bottom in equal intervals using elastic bands.
2. I scrunched 2 into a ball and the raw edges were tucked in before holding everything in place with elastic bands.
3. I used twine here. The diagram shows how I folded this sample.
Sample 1 and 2 were worked on the same piece of A4 cloth.
Sample 1 was tied at 3cm intervals and pushed together.
Sample 2 is similar except I have used bands this time and the fabric has been slightly twisted as I pushed together.
3 shows fabric held in place with cotton thread. I folded the fabric concertina style and wrapped it diagonally on the pipe. I tried to bunch it up too, but this was tricky as the fabric was already quite thick.
Ok, that’s my initial group of samples completed. I need to sort the dye now. This was fun, the next part will be really exciting!
How did they turn out?
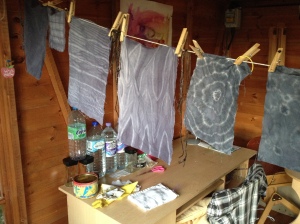
As you would expect I had a variety of successes. A few were paler than others because I had removed them from the dye in groups at different times. Some of the stitching was very tight because the cloth was damp making it a bit of a chore unpicking it all. However after all that dying, washing, unpicking, drying and ironing I was really happy with most of the results.
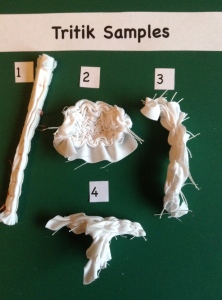
Tritik Samples.
1 . Straight 2. Zigzag 3. Waves 4. Circles
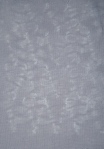

I think this was the least successful group of samples. They were also the first batch to be removed from the dye, making them the palest samples. Perhaps a thicker or waxed thread would have produced better results.
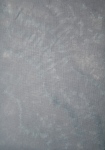
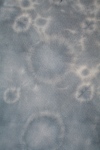
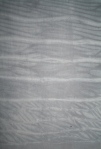
Tie & Dye Samples.
1. 2. 3.
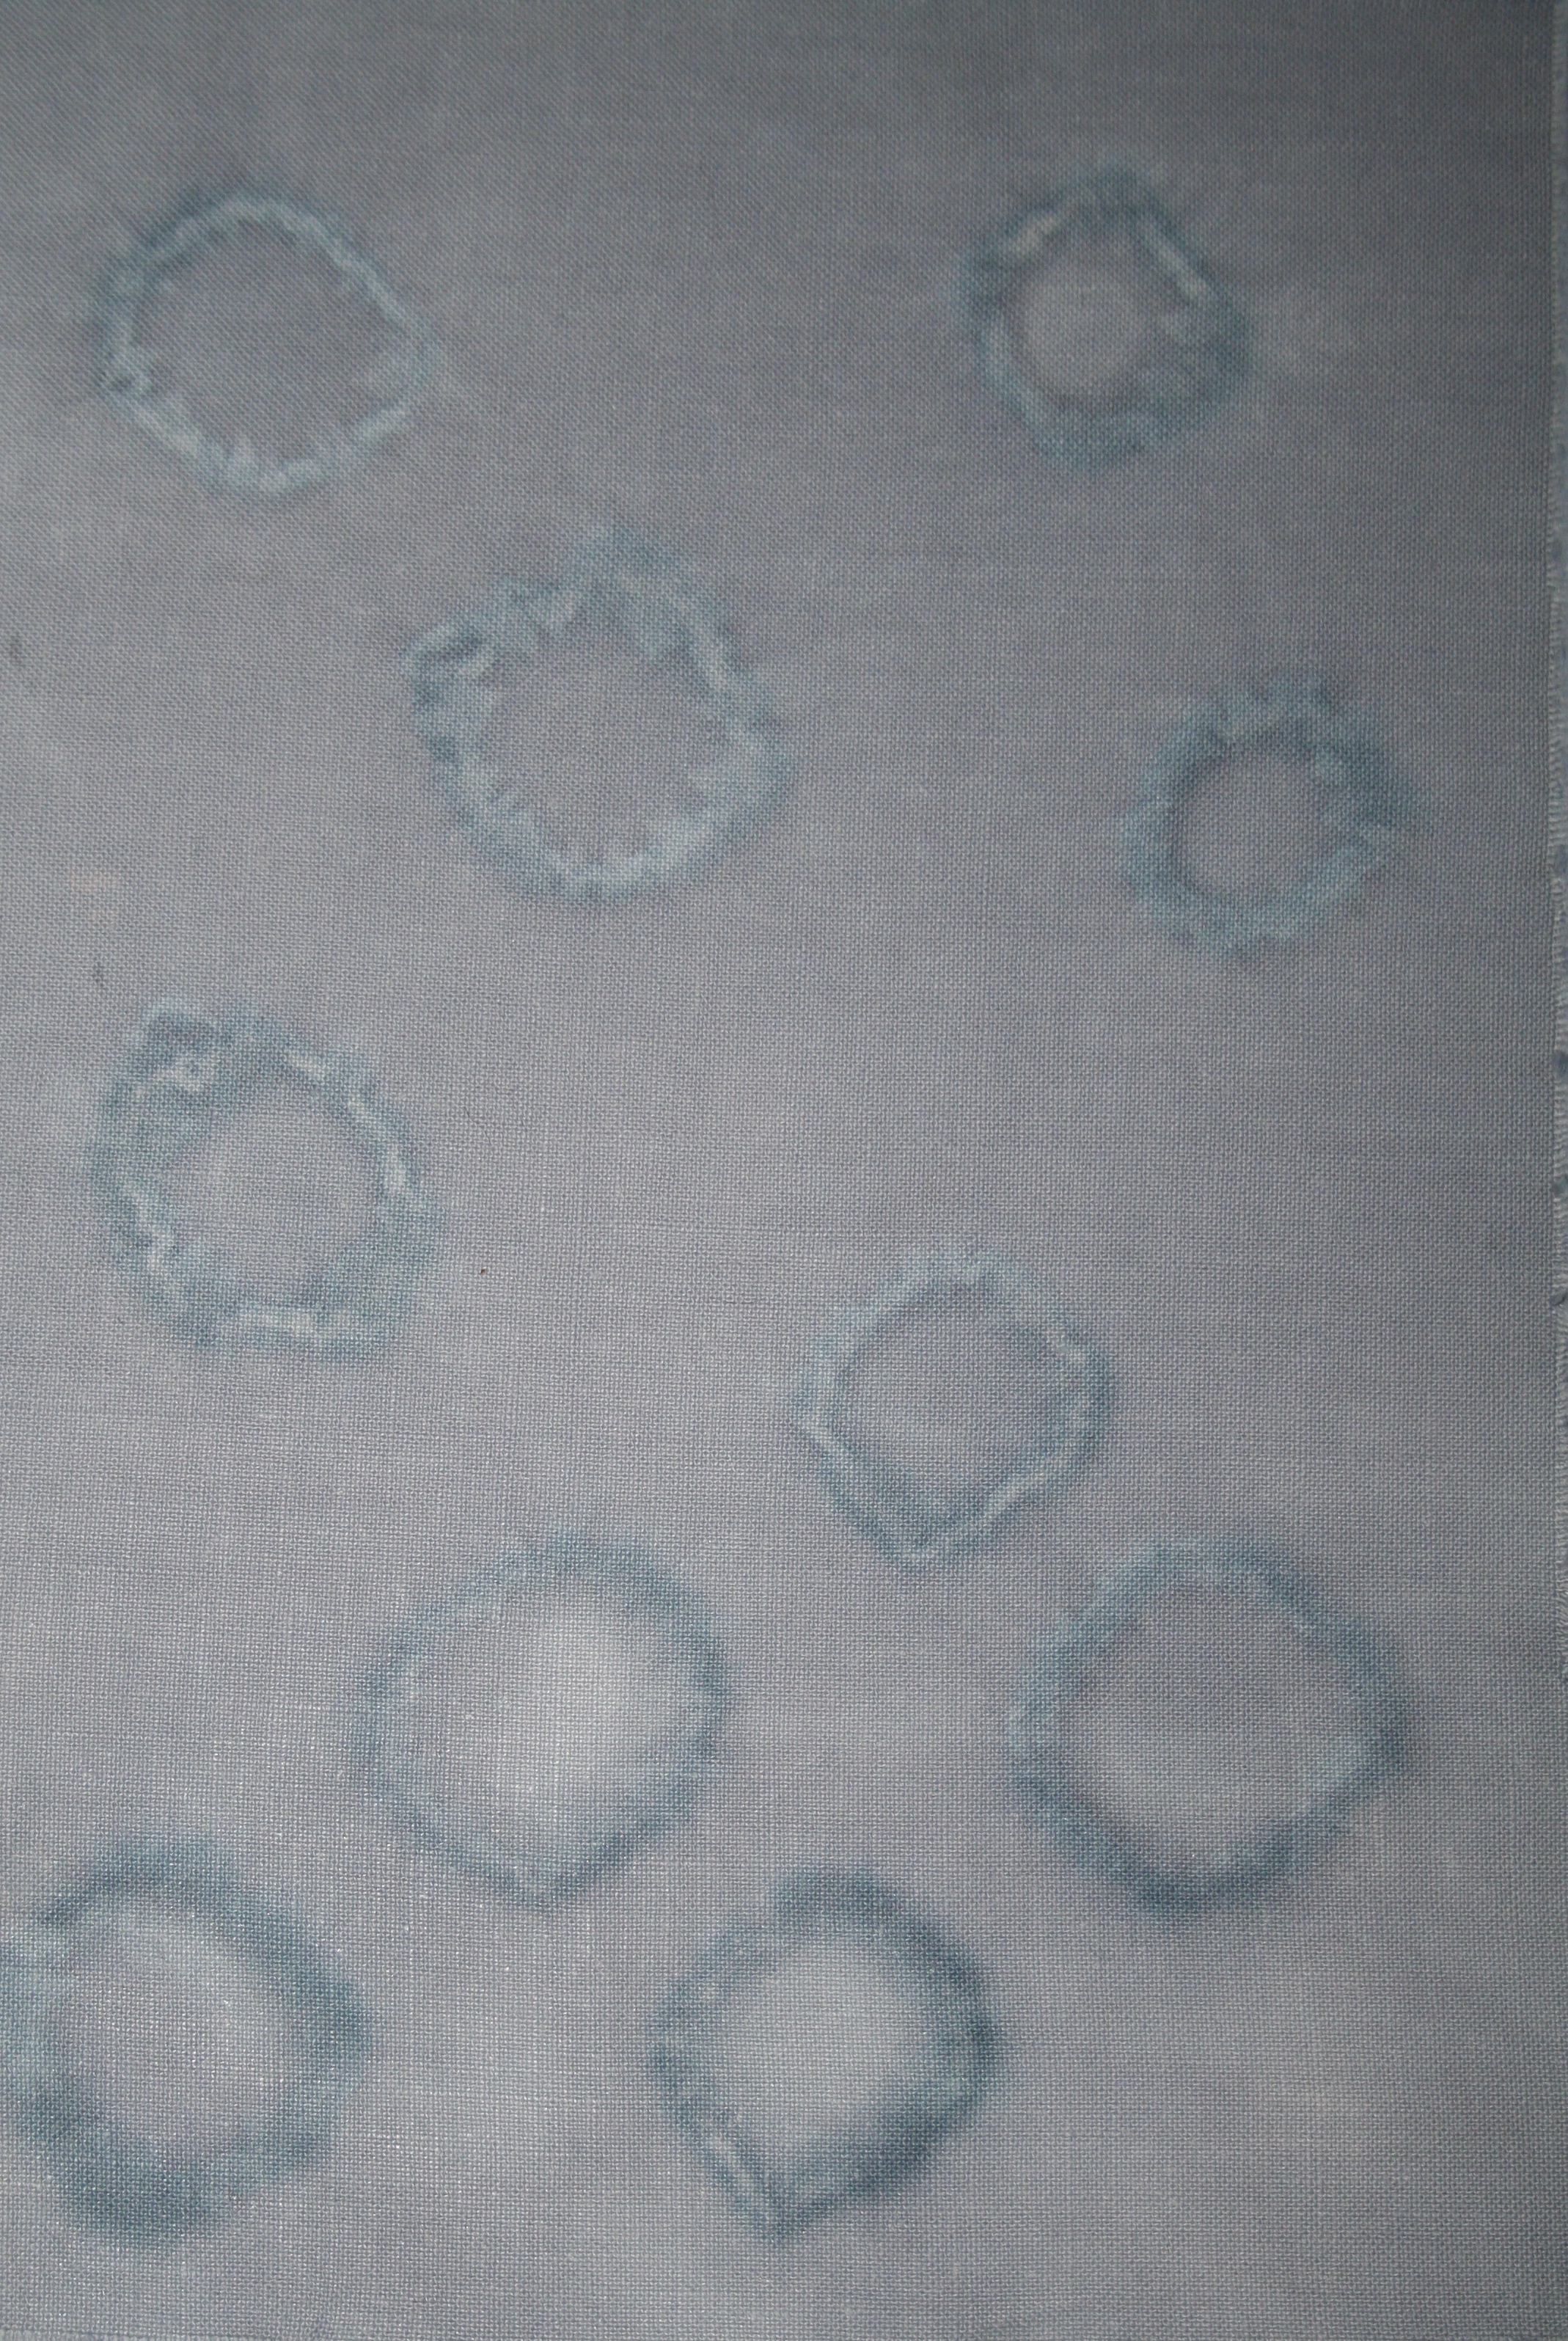
Small Clamps. Clasps.
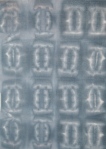
The clamped and clasped samples worked really well except for number 4. Where is number 4? Good question! It has disappeared. Normally I would include work which did not turn out well which was the case here, but unfortunately I don’t seem to be able to find it. Most annoying!
1. Centred 2. Scrunched 3. Twined 4. Buttoned
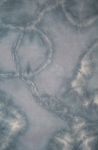
These are great! Number 1. is delightful, I was really pleased with this one. Number 2. was always going to be s surprise and turned out to be a really pleasant one. The 3rd sample was not at all what I imagined it would be and I was puzzled how this came about to begin with, however now I have looked at it for a while it makes more sense because essentially what I was doing was tying the points into circle shapes. Lastly the buttoned one was okay too although I think the other 3 are more exciting!
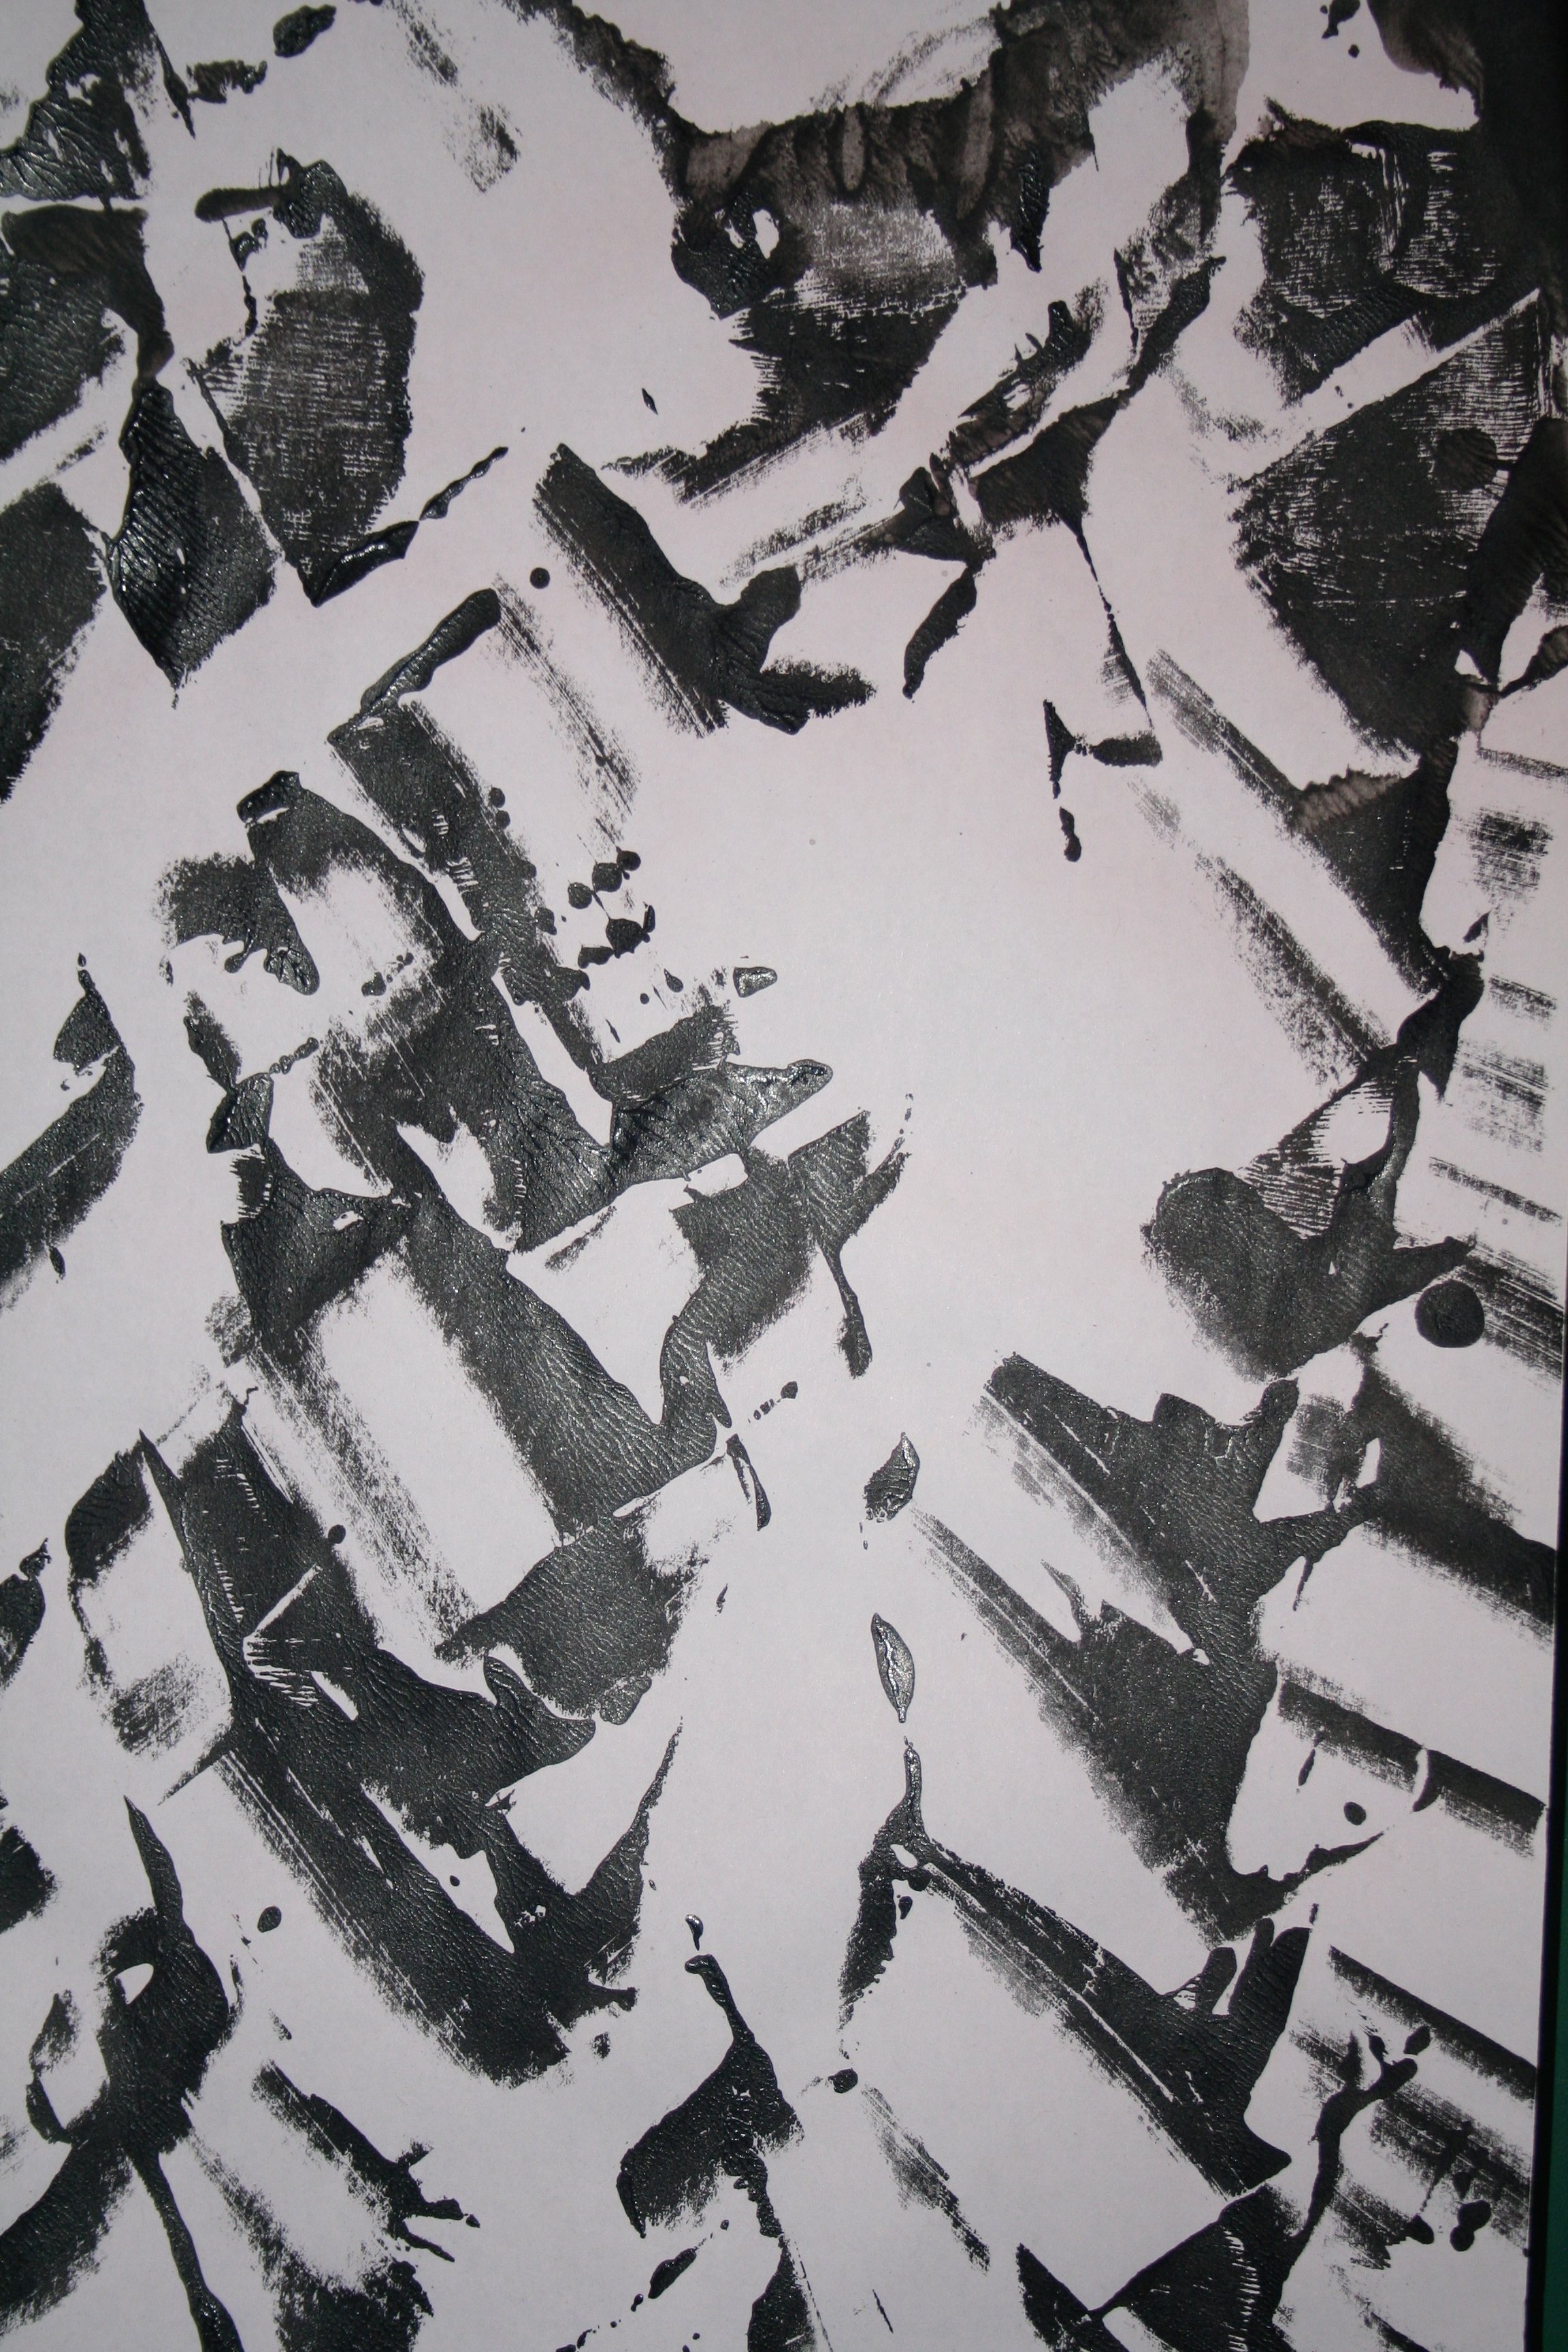
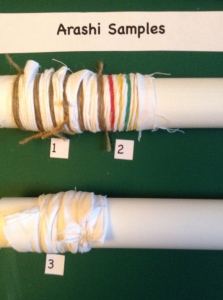
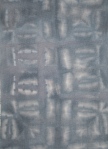
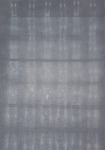
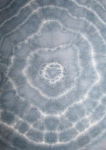
Arashi Samples
1. Pushed 3. Concertina’d
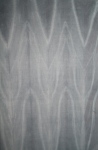
2. Twisted.
A wee reminder…1 and 2 are on the same piece of cloth. You can see the difference between the top half and the bottom part where the cloth was twisted as well as tied.
3. I think this is my favourite sample overall. I could not have predicted how wonderful the pattern and lines on this would be.
I am now thinking what animal markings do these remind me of? Lots spring to mind. Wrinkly elephant hide could be Arashi pushed and twisted. Birds feathers, zebra or turtle skin for Arashi Concetina’d and the random negative spaces in Tie & Dye Scrunched could be from a giraffe!
When I make larger samples I hope they work as well as these smaller ones. I need to leave the fabric in the dye for longer if I want the colour to be deeper and perhaps adding more dye powder to the solution would help.


 I
I


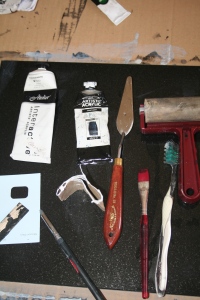 The tools of the Trade!