
Seminole Method
The second type of sample worked on in this chapter uses the Seminole method. Seminole Indians used strips of cloth to embellish and mend their clothes. They started off with a simple strip of cloth joined to other strips of cloth. It was then cup up into smaller pieces and sewn together to create simple or complicated geometric patterns. This made their garments really colourful.
I tidied up from the log cabin experience and reorganised my work space.
I always felt a bit dizzy turning this way and that to either find,cut, iron or sew so I redesigned my workspace and it is working better. My husband now calls the dining room, i.e. my work space, ‘the Factory’ (Which is also the name of a creepy and not very good film!).
Safety is always a concern in a busy factory but regardless of how much care one takes there is always the possibility of an accident. I had a problem with my rotary cutter so I asked Fiskars if they could replace the broken part. Very unexpectedly they sent me a completely new one. However the day it arrived I had already temporarily mended the old one and decided to continue using it but I didn’t put a new blade in it thinking I could use the new one later. I was cutting a long strip of cloth, holding it in place with a steel ruler. However as I cut along the edge of the ruler everything moved and my index finger met the cutter resulting in a very bad cut! I didn’t cut any cloth for a week and am now much more careful and slower at cutting ! I am only saying this because sometimes another’s misfortune can save you from the same mistake!
Well after that gory tale I will share the work I did!


Cutting lots of strips for the initial paper samples.
I used plain black and white paper as well as a combination of my own patterned papers.
a)

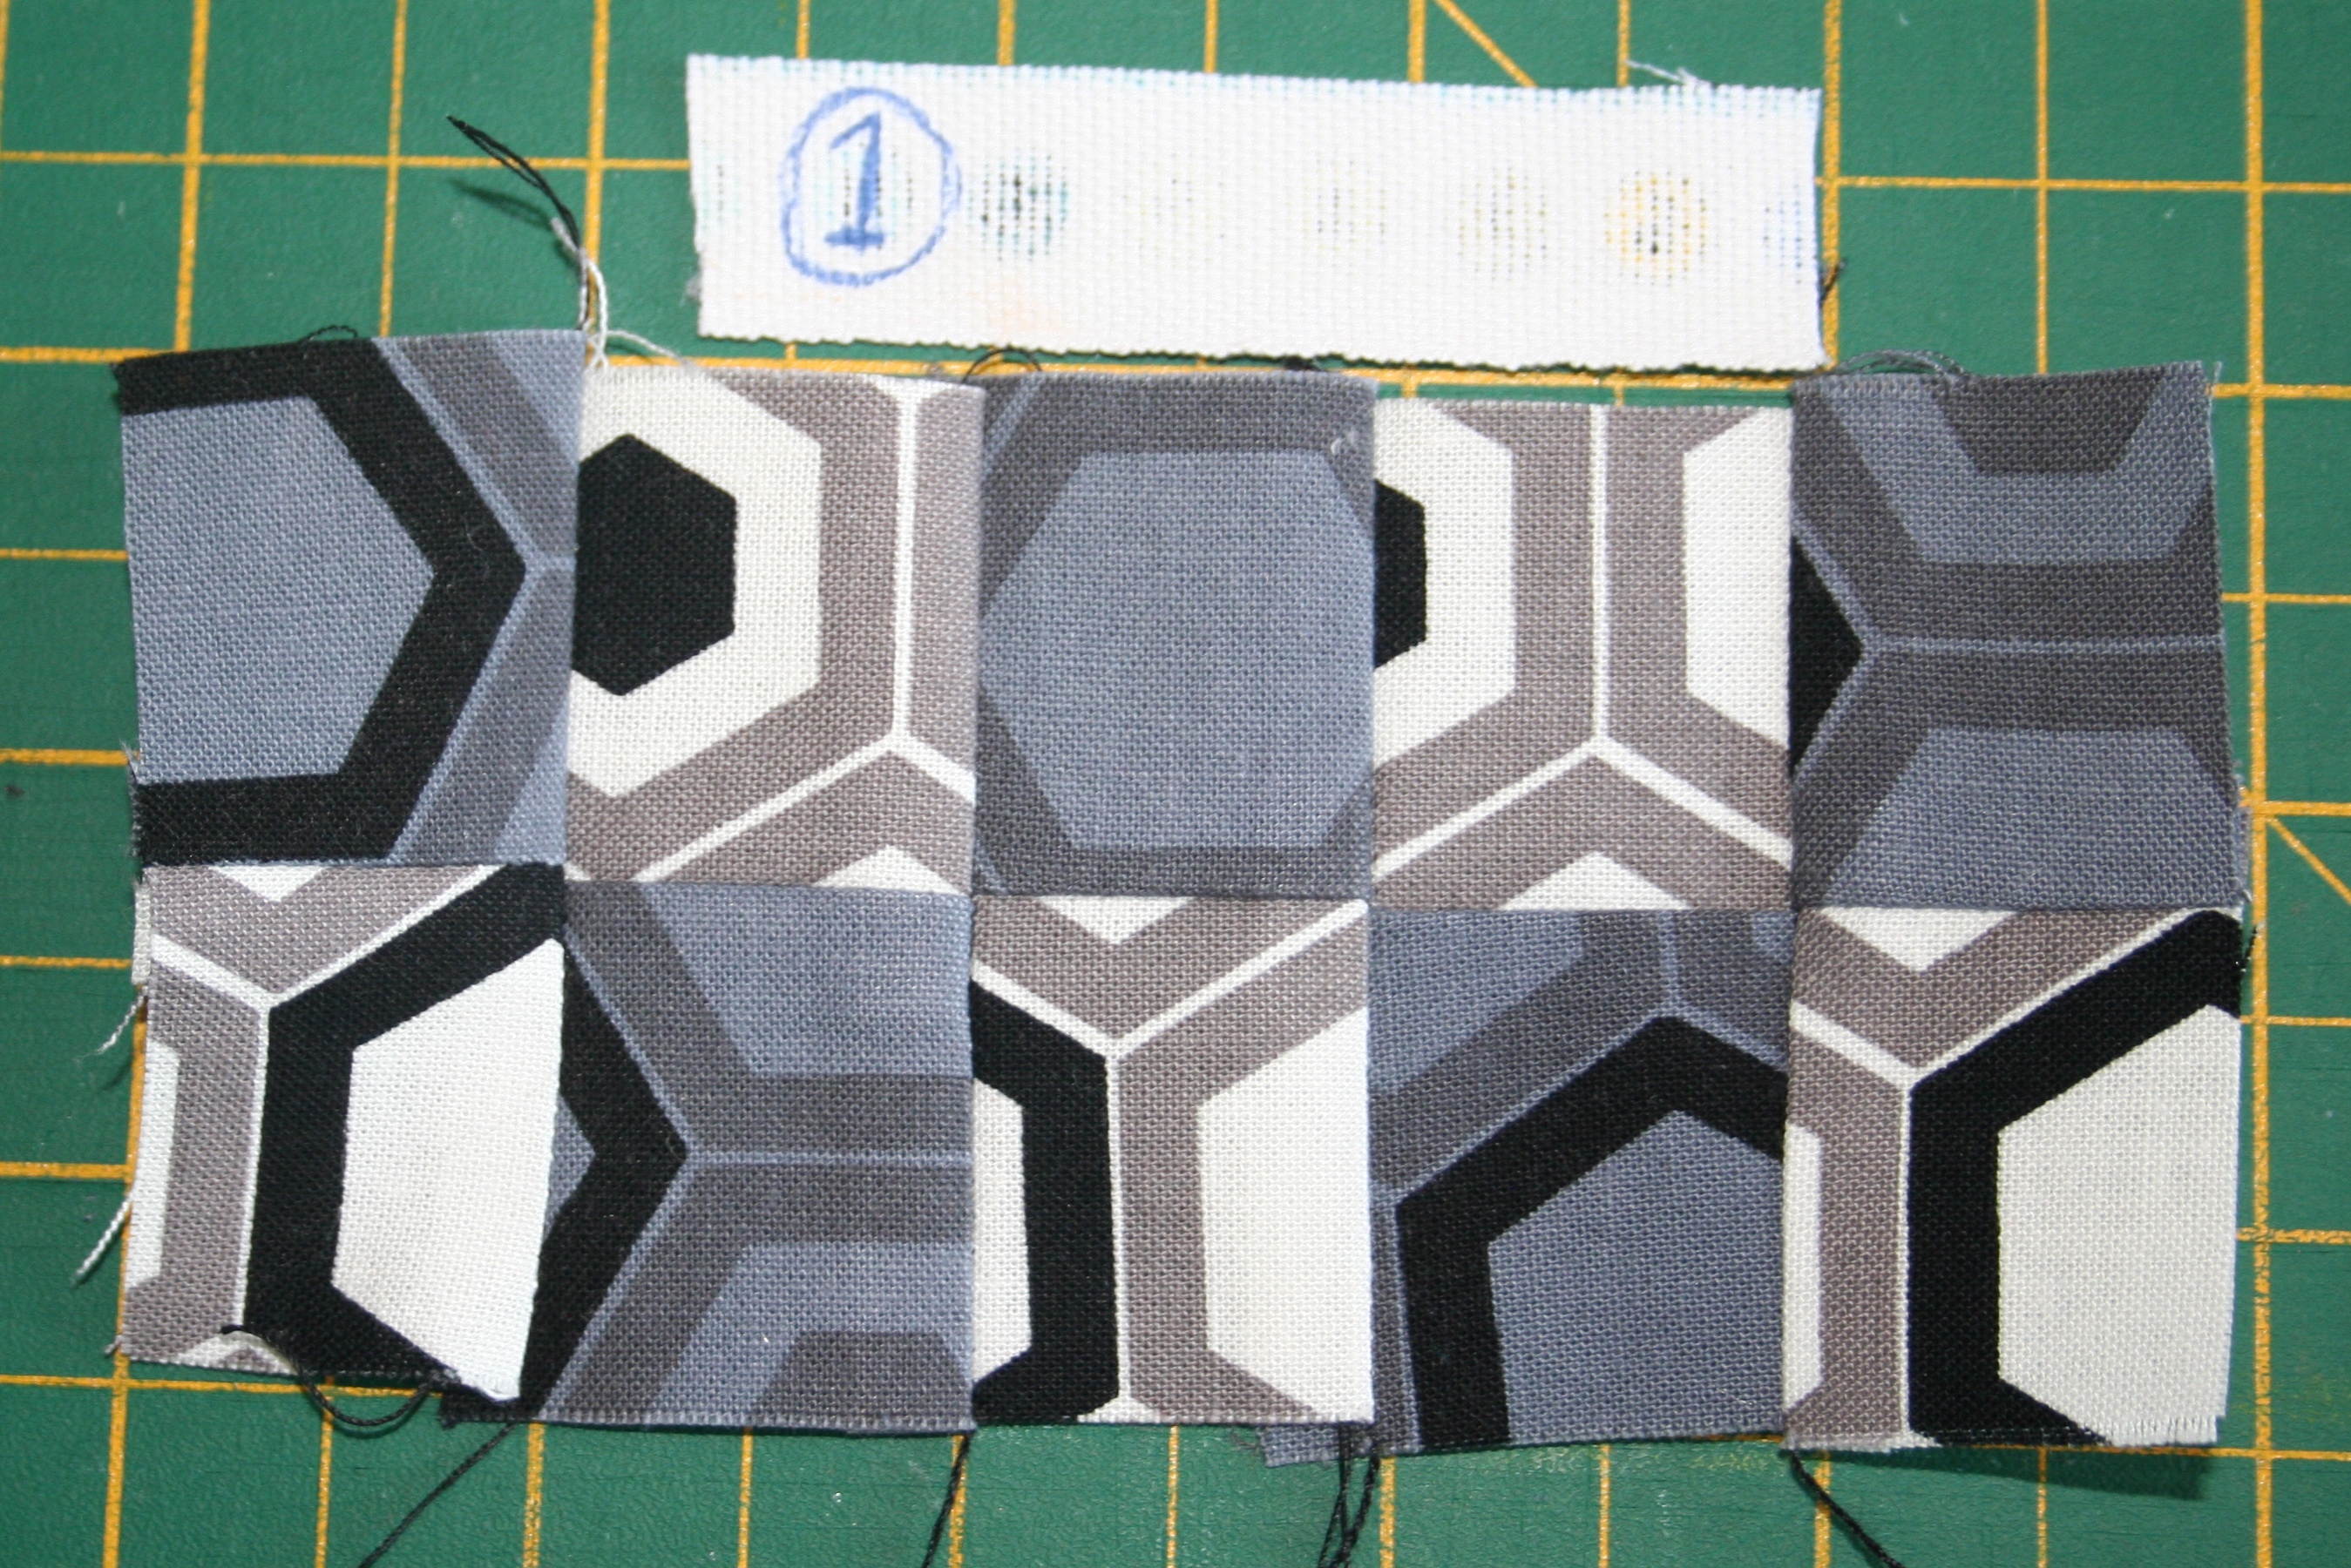
This shows samples 1 to 7. These were all very simple constructions made up of 1 x 2” or 2 x 2” strips. Number 6 was my own design. Underneath 7 the writing indicates a variety of sequences of strips.
1 and 2.

3 and 4.


5 and 6.


7.

b)

This sheet shows samples 8 to 14. I really should have put 13 and 14 the other way around as 14 is the basic construction for 13 but this was the order I made these samples in and did not realise this until after I mounted them!
8.

9.

I had a hard time with getting the seams right for this one as you can see from the sample on the left, but in doing so I created another sample. I have trimmed it up too much though.
10 and 11.


I am getting better with the seams!
12.

The sample on the left was cut on the opposite diagonal from the paper sample and as you can see the seams need some work, hence the sample on the right which I am much happier with!
13.

This is the before and after for sample 13.
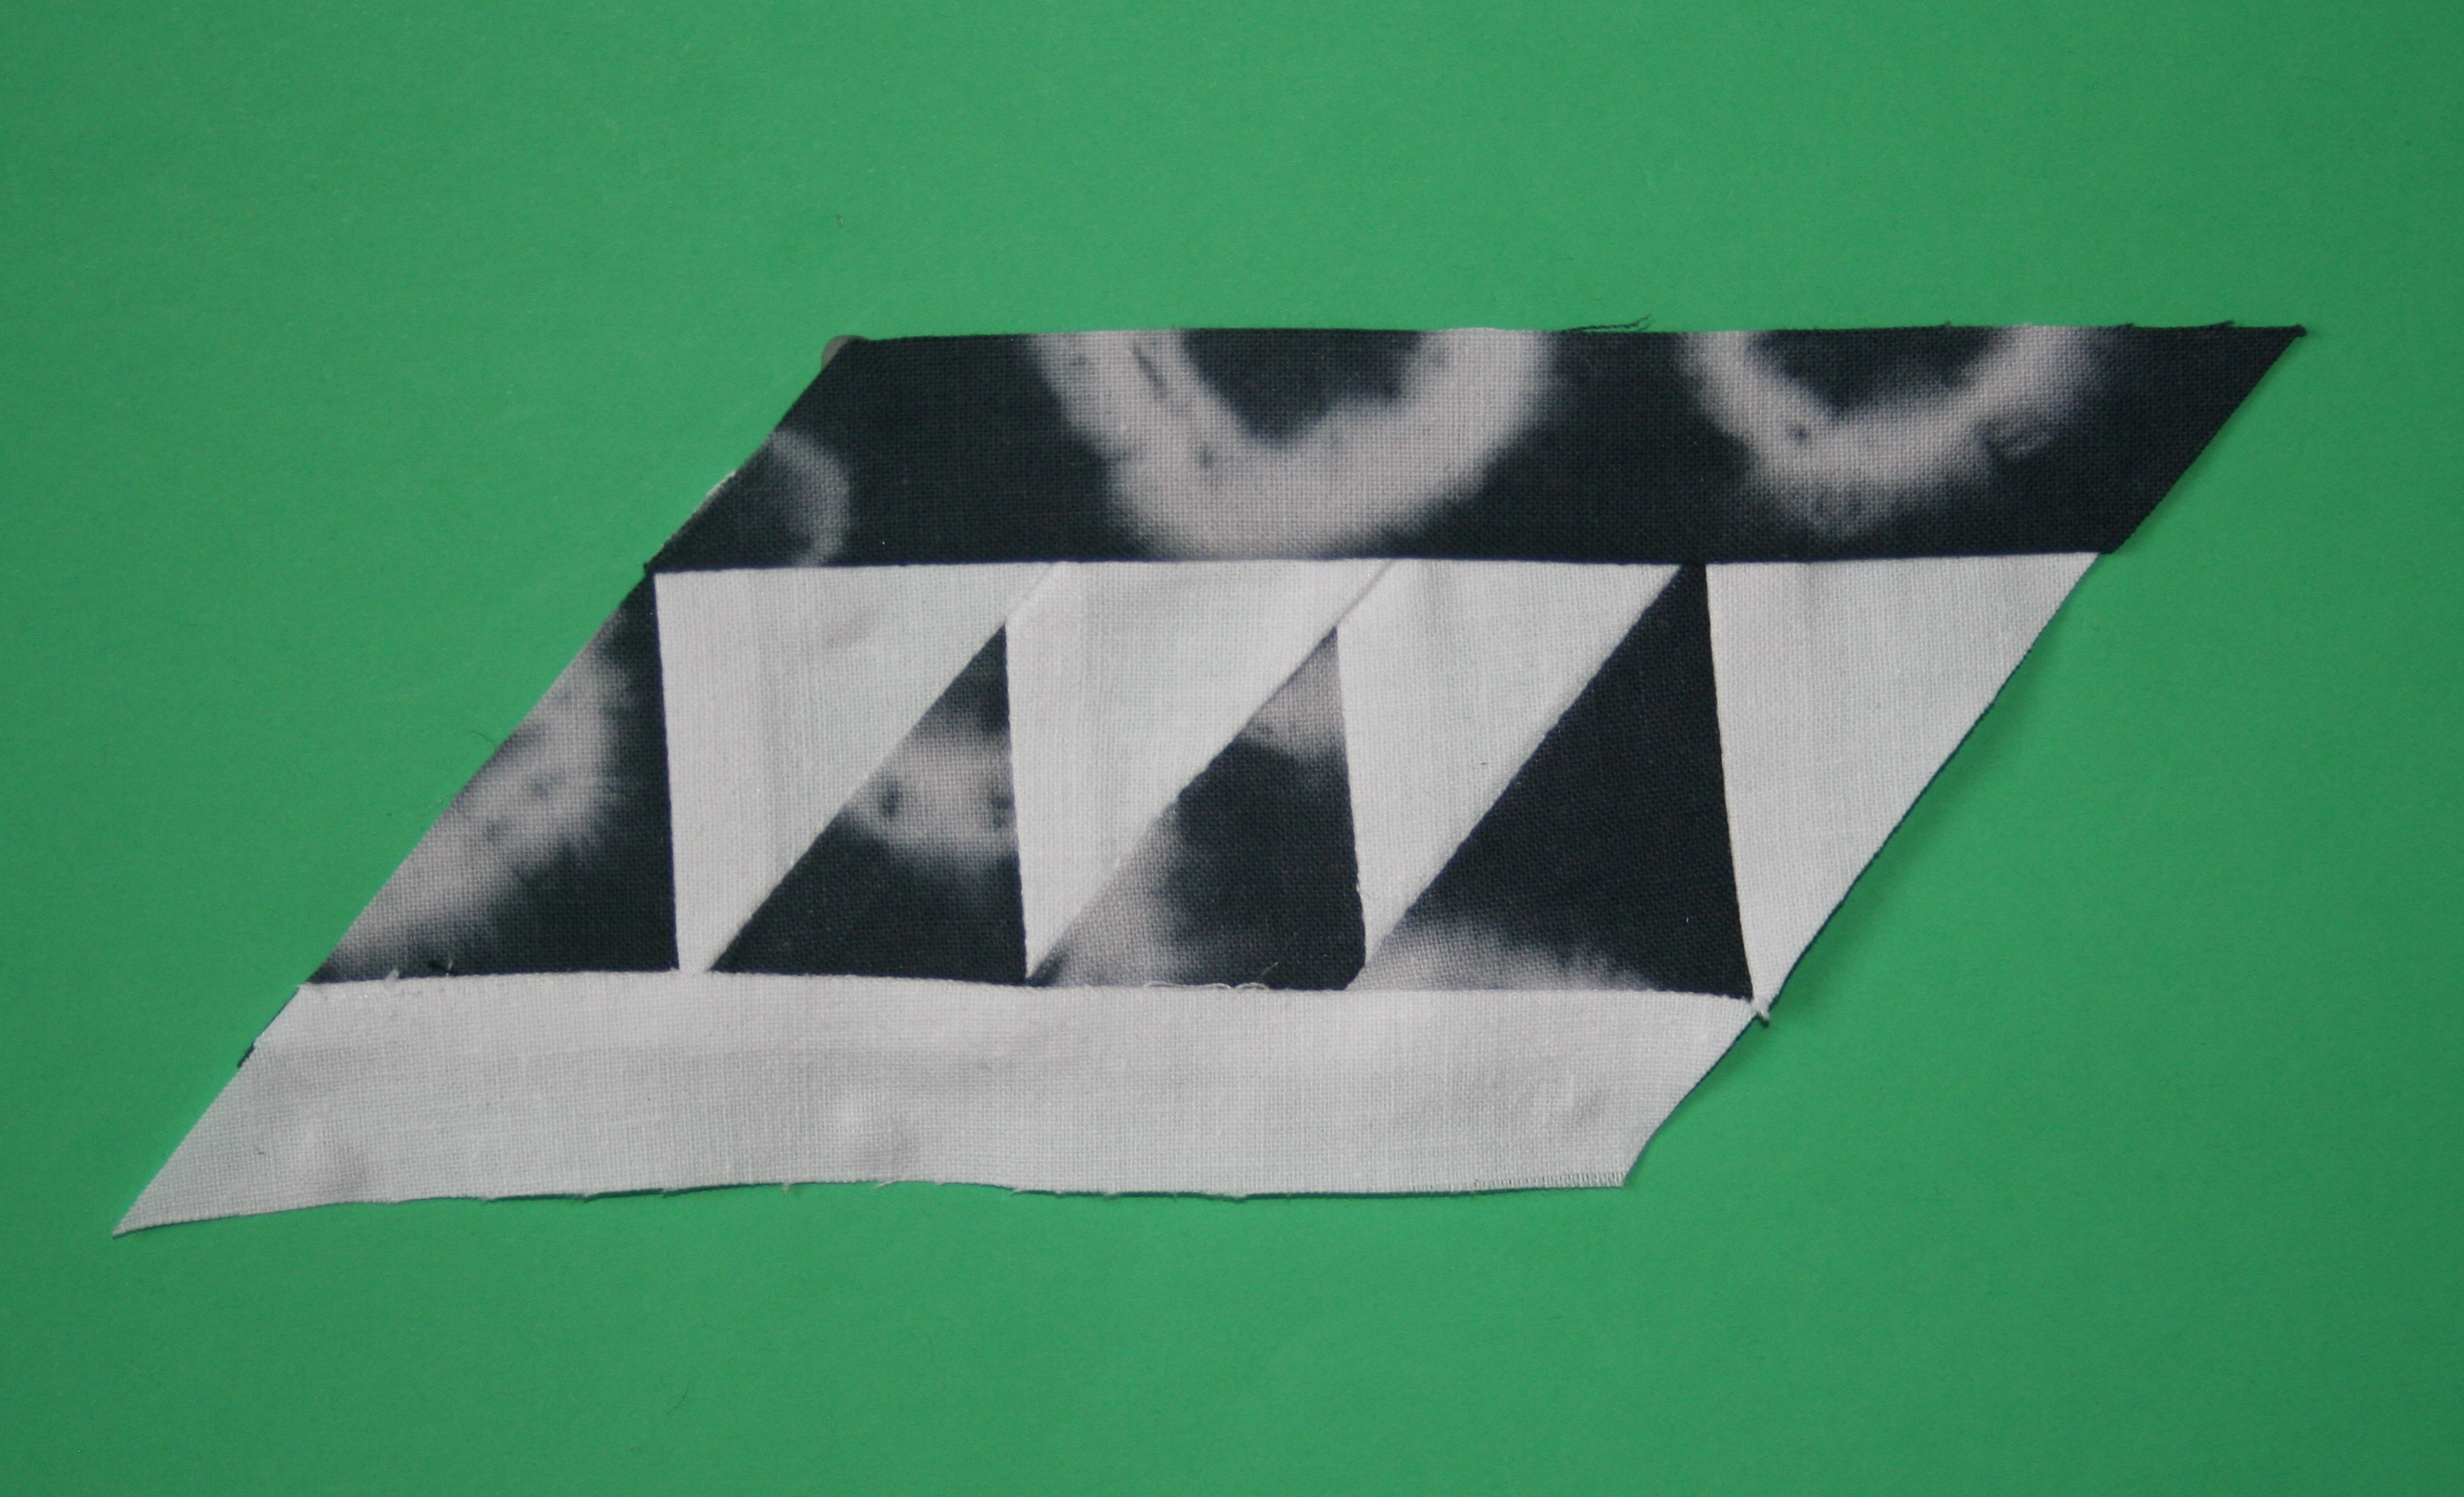
This sheet shows samples 15 to 18. (I did not make 16 and 17 up into cloth samples.)
c)

Sample 15. The comment on the sheet states the strips were cut at 45º, it should say ‘placed’ at 45º.
15.

The image on the left shows how I worked out how to piece it all together. It was easy after that.
18.

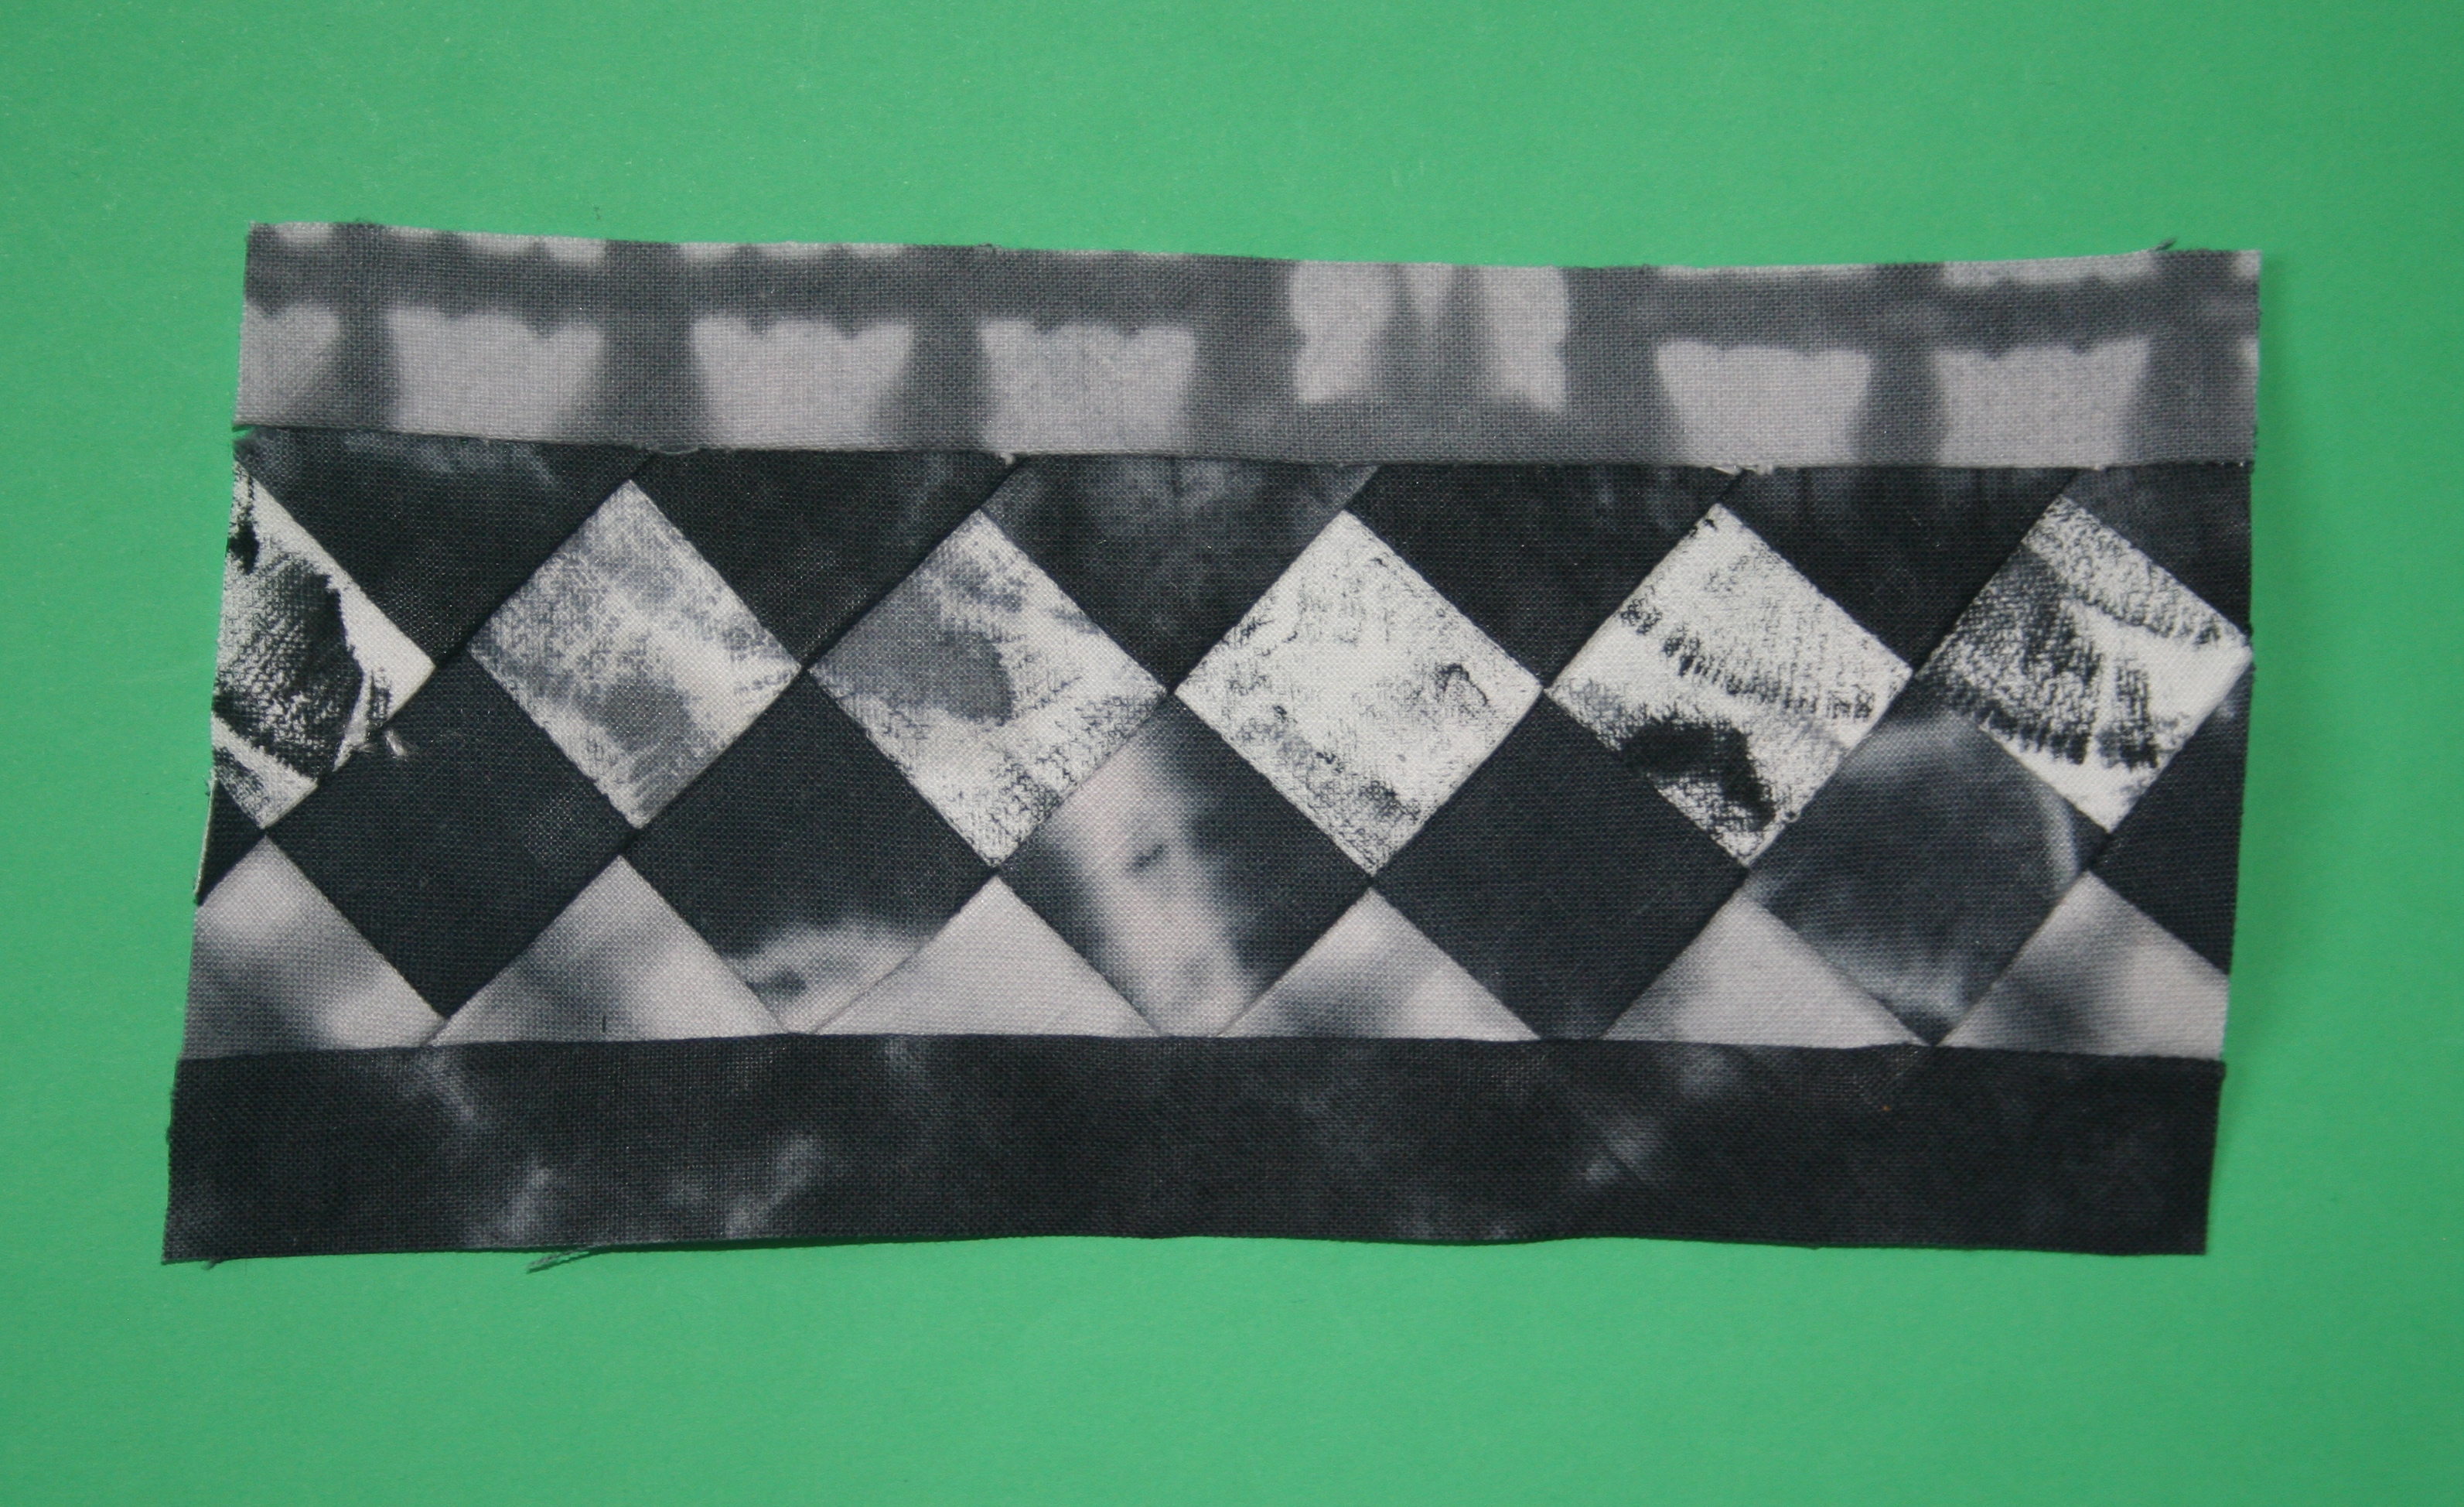
19.
There was a challenge to work out how this pattern was made. I made the paper sample by alternating the direction the strips were cut in. The cloth image (number 10 ) has been rotated 90º to show how to make this.


It was fun making some of these samples!

Comments on: "Chapter 7 continued." (7)
Wow! You are really on a roll! What beautiful samples – I particularly like sample 8. The soft, diffused patches contrast nicely with the lines.
Thank you once more Catherine for your lovely comments. 8 is my favourite too, and you describe very well why. For most samples I went for high contrasts but this one was about the shapes and lines.
My finger has healed really well and I am back to using the cutter… carefully!.
I hope you are well and continuing to work through the course, your work is always wonderfully creative and inspiring.
PS Hope your finger is better now. What a scary story!
Lovely samples, Elaine – I love 8 too, and 15 is my other favourite. The patterns on your fabrics and papers are just beautiful!
Hi Judith, thanks for all your great, enthusiastic comments on all the past few blogs. I really enjoyed doing this chapter after a lot of stopping and starting! It is quite hard to cut up samples that you treasure, into small pieces isn’t it!
Great samples Elaine! Sorry to hear about your finger though! Ouch! I try to remember to close my cutter after each use – of course I sometimes forget! Love #8!
Thanka Edith. i have since bought an omnigrip ruler which should help to keep me safe, and I am extra careful too!Keep safe. x